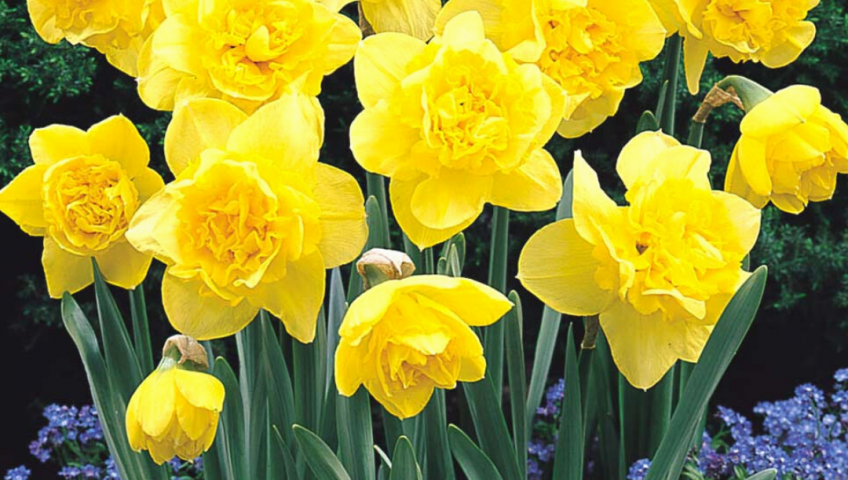
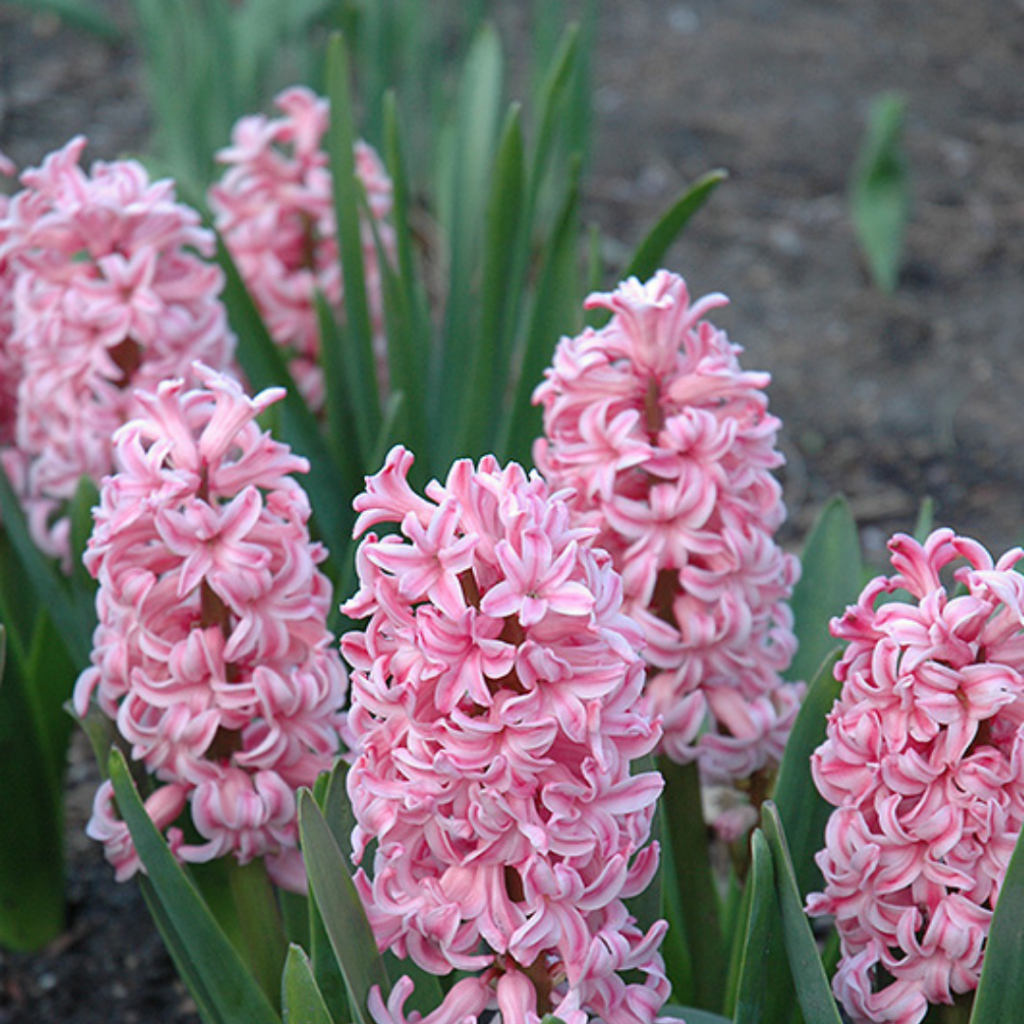
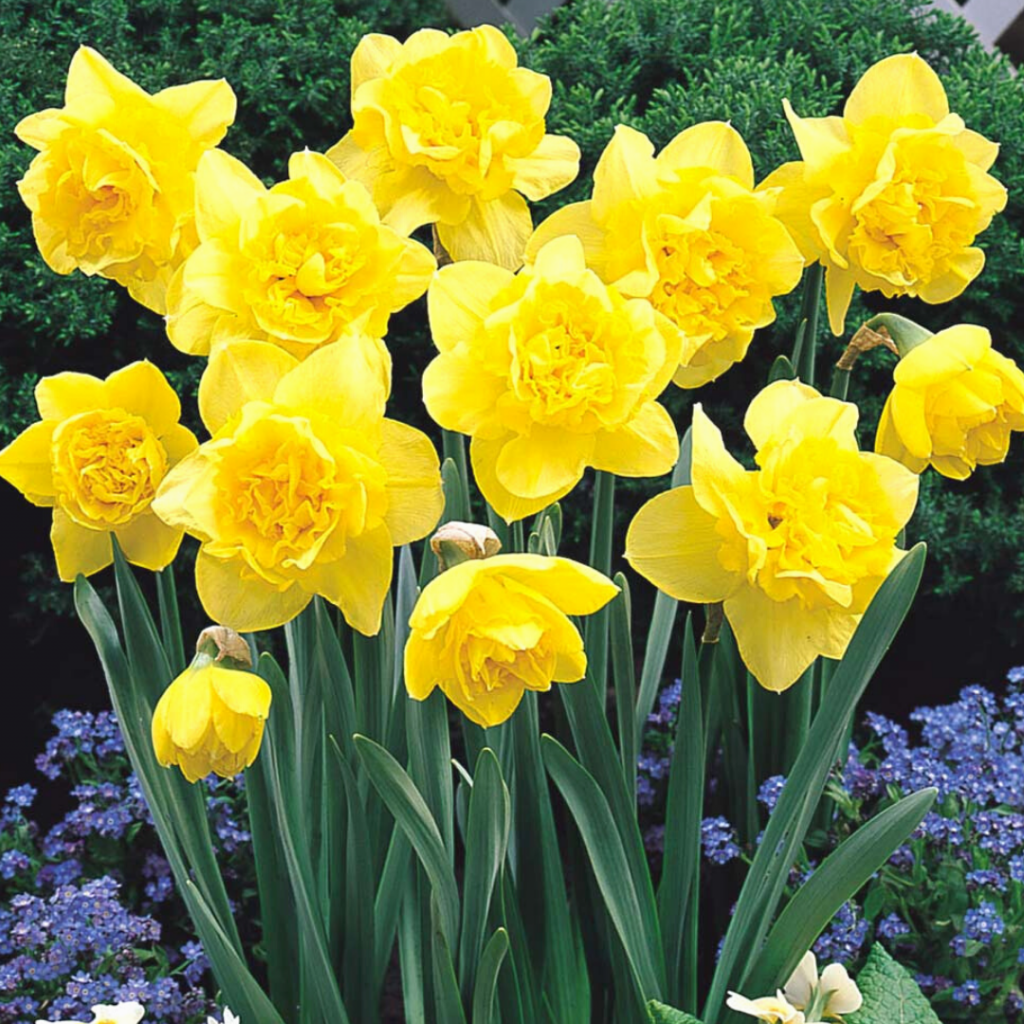
As all of us in upstate NY are getting ready to brace for Winter’s impact, let’s turn our focus to the coming Spring and its colorful potential! Bright yellow Daffodils, fiery red Tulips, and bubblegum pink Hyacinths are going to be your new way to snap out of those wintery blues. Let’s get planting!
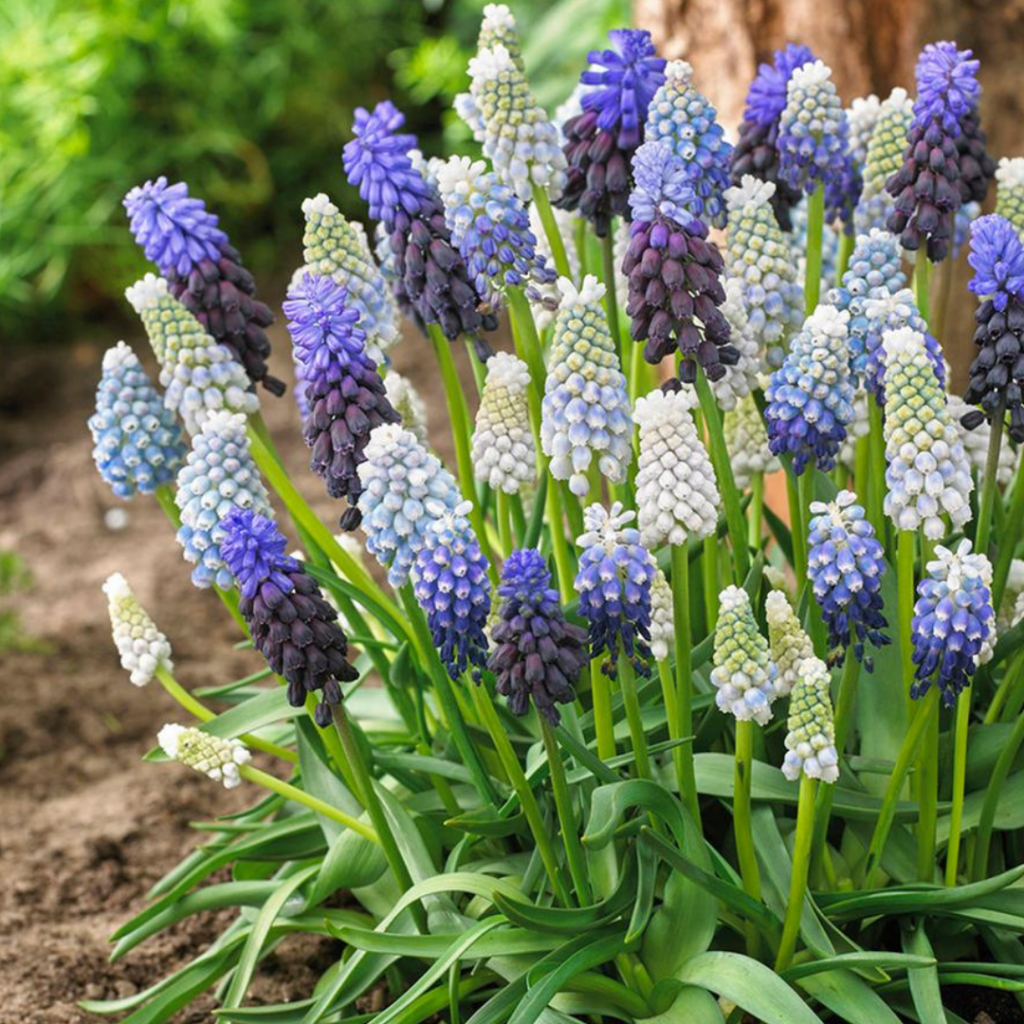
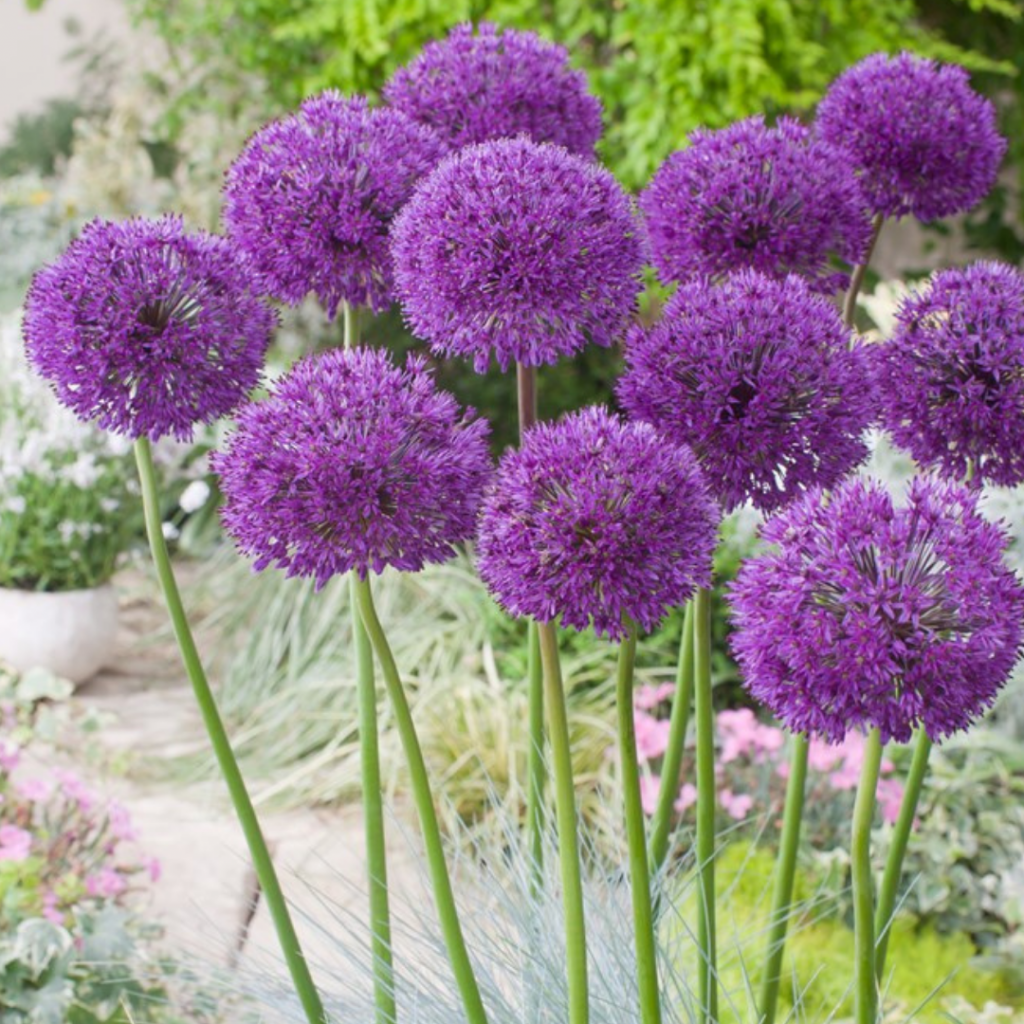
Spring-blooming bulbs are the first pops of color we see every year after the Winter finally starts to ease up. Ranging from yellow to blue to pink, you have a large selection of colors and shapes to pick from. At Preston’s, we can’t help but favor the Giant Allium with its funky blooms and the Tulip with its range in colors. If you’re looking for shorter with more blossoms though, look no further than the Hyacinth or Grape Hyacinth. With such a huge variety, Spring-blooming bulbs are a great way to scatter life throughout your landscape after a cruddy Rochester Winter.
Once you’ve picked which Spring blooms you’d like, it’s time to pick out your bulbs. When you’re picking a bulb make sure it’s not withered, squishy, or moldy. Now when it comes to the size of the bulb, generally the bigger the bulb the more blooms it will have. If you get a smaller bulb, don’t be sad! It will grow and be just as bountiful as a larger one in a couple of years.
Now that you’ve obtained your Spring-blooming bulbs, it’s time to think about planting them. Getting your bulbs into the ground is of the utmost importance because bulbs only have energy for 1 dormant season! They also don’t particularly care for being stored outside of soil either, it causes them to wither and die. While it is very important to get your bulbs into the ground, it’s even more crucial to do it at the right time of year.
For those of us in upstate NY, we cannot trust the weather but what else is new? The typical time for us to plant our Spring bulbs is between October and November. You must give the soil a chance to cool down or it will cause the bulb to break dormancy early. Once the temperature is consistently about 50 degrees or cooler for 2 or more weeks, it’s time to plant. It’s important to plant at least 6 weeks before a ground-hardening frost hits. Getting your bulbs in the cooler ground before the serious frost hits gives the roots time to develop and encourage the bulbs to turn on a flowering formation. It is safer to err on the side of caution and plant your bulbs later rather than too soon.
Planting bulbs is an easy task if you know the few important steps. One of the first steps to bulb planting is identifying which end is the top and which is the bottom of the bulb. When you plant a bulb, you’re going to want to plant it heads up. The top is usually a bit pointy and the bottom has roots. If you are unsure of which end is which, you can just plant the bulb on its side.
Where do you want to see your landscape come to life? Plant some bulbs there! We wish it were that easy, but there are some requirements for bulb locations. Most bulbs prefer full sun to keep their soil dryer and warmer. There are some exceptions like Violets who tend to favor shadier areas. The general rule is to not plant things under trees BUT with spring blooms you don’t have to worry about the tree foliage blocking out the sun. Just don’t plant your bulbs in a permanently shady area though! Spring bulbs look the best when they’re planted in groups or drifting along the landscape. By not planting them in rows, it encourages a more natural look. Even doing different size groups is a fun way to display bulbs.
Bulbs need to be planted in a hole 3x as deep as their diameter. Even if you don’t plant them deep enough or at the right angle, bulbs can wiggle their way to the depth and position they want! You can also encourage growth by sprinkling some bulb fertilizer in the hole while you’re planting them.
Watering your bulbs is important too. Once you plant them, you’ll want to water them a bit to get the root growing. If we have a drier Spring, it will become your job to make sure your bulbs are getting enough H2O. When you water your bulbs, make sure the water is soaking down to the level where your bulbs are buried. Bulbs need to have some water, but not too much because that can cause them to rot, this makes well-draining soil their best friend!
Once your bulbs are in the ground, mulch over them. When you mulch over the bulbs, use things like pine boughs, leaves, and mulch to help build a barrier against the freeze and thaw pattern of early Spring. Mulching is important because it helps prevent premature dormancy breaks.
After all your blooms have passed, it’s time to deadhead the bulbs. ONLY cut off the passed blossoms, not the foliage, your bulbs are still getting nutrients and energy from the sun for the upcoming cold season. Sometimes the foliage on your Spring bulbs starts to look sad and wimpy, planting perennials around the area of your bulbs is a great way to help hide the foliage! After you cut back the foliage, be sure to fertilize with compost to help get the bulbs ready for Winter.
If the cold beats you to planting, don’t abandon hope! Yes, it is very important to get your bulbs into the ground, but here are at least 2 ways to still get your Spring blooms. You can always pot your bulbs. Be sure to use a large container with plenty of potting soil and plant the bulbs at a proper depth/angle. Be sure not to press the bulbs to the edge of the pot because they will freeze but you do want to leave room between the bulbs for soil. Store this pot in an unheated garage, porch, or even your basement windowsill. As long as the bulbs are in a chilled spot, they will be ok for spring.
Another way to conquer the frozen ground is by planting the bulbs right on top of it! Spread the bulbs out on the ground and then cover them with 6-8” of potting soil. Mulch over the mound once it freezes over with things like pine boughs, compost, and leaves. Protect the bulbs!! This method of planting may not yield the highest number of blooms the first year, but it should improve with each season.
Bulbs do have pesky predators that you can protect them against. Squirrels are your main culprits but there are ways to help deter them. Using red pepper flakes by sprinkling them into the hole after you’ve put the bulb in is one way to keep pests away. Another is covering the area or mound with hardware fabric or a chicken wire cage.
You’ve chosen, planted, and protected your bulbs. Now don’t forget where you planted them over the winter and enjoy your new colorful Spring display!