Winter Poinsettias, Christmas Star, Crown of the Andes, & Christmas Flower, the Poinsettia has been a symbol for holiday cheer & festivities. With being just as iconic as the Christmas tree, we are introducing Poinsettias as we lead into the holiday season! Also known as the Christmas Star, Crown of the Andes, or the Christmas Flower, the Poinsettia has been a symbol for holiday cheer and festivities for centuries.
A botanist during the 1800s by the name of Joel Roberts Poinsett traveled to Mexico as a minister and was introduced to the “Mexican Flame Flower”. He loved it so much that he sent several to his greenhouses in South Carolina to propagate and be introduced as a festive symbol. Incredibly popular in both folklore and modern history, the Poinsettia blooms as a true symbol of the holiday spirit all over the world.
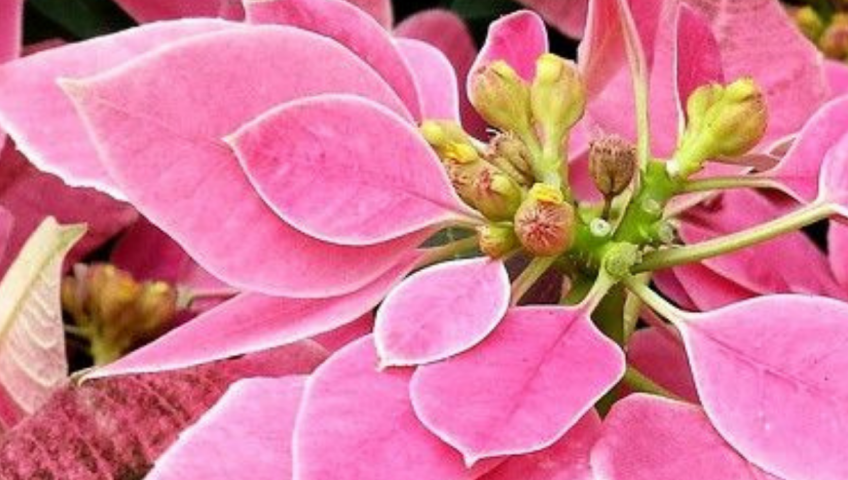
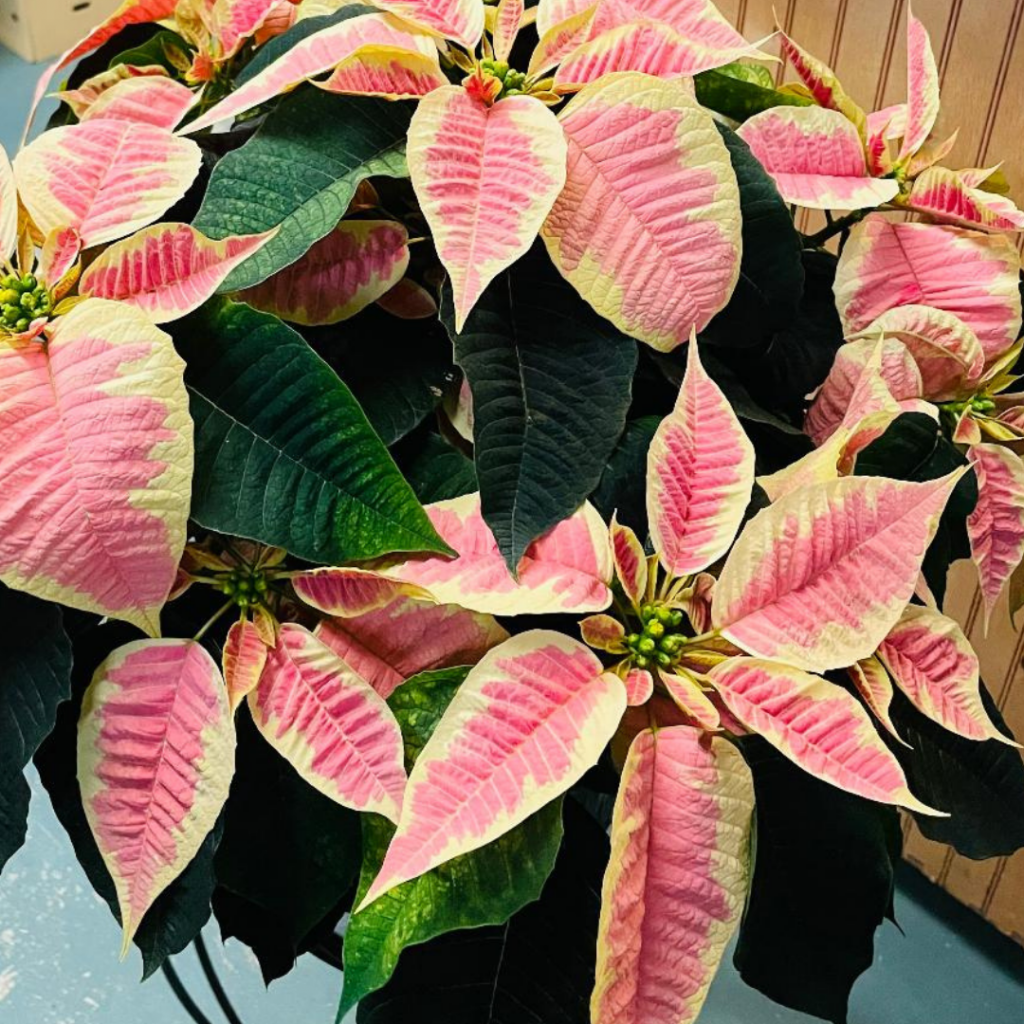
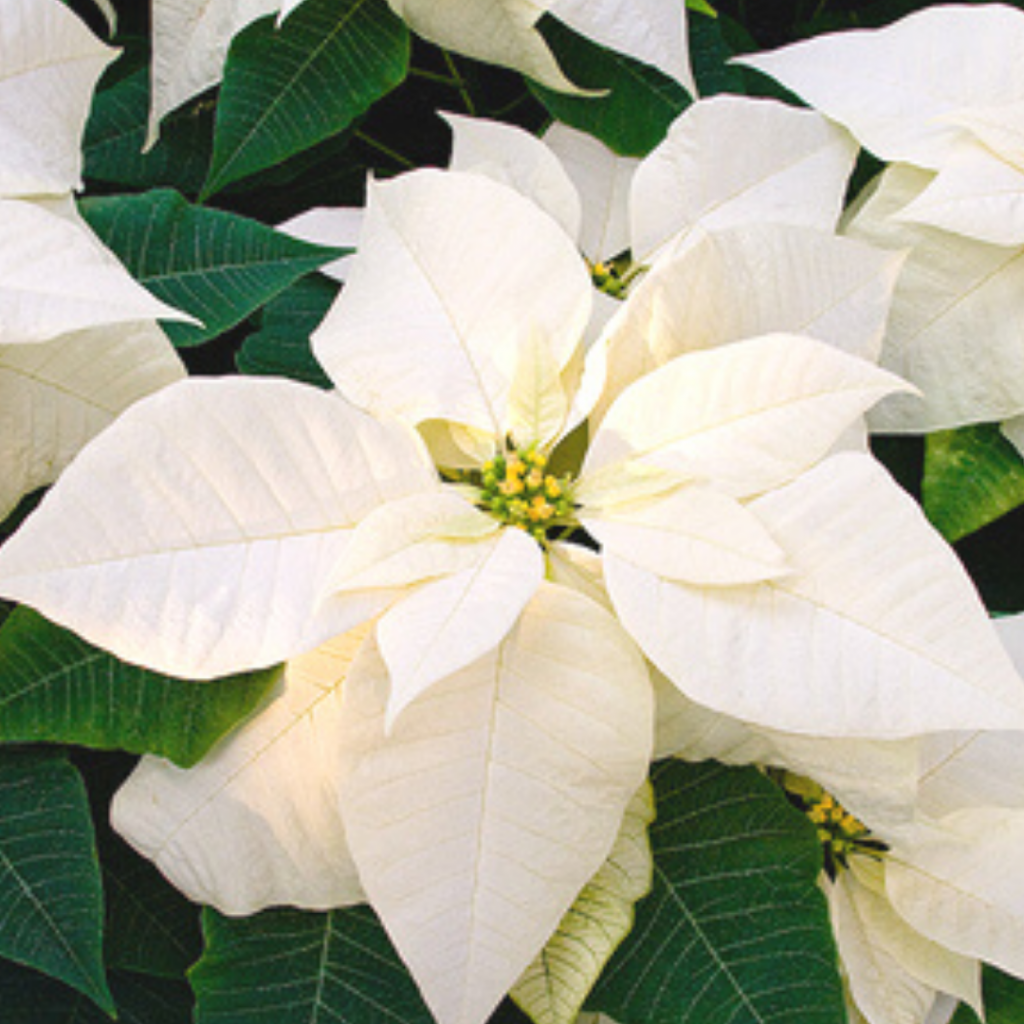
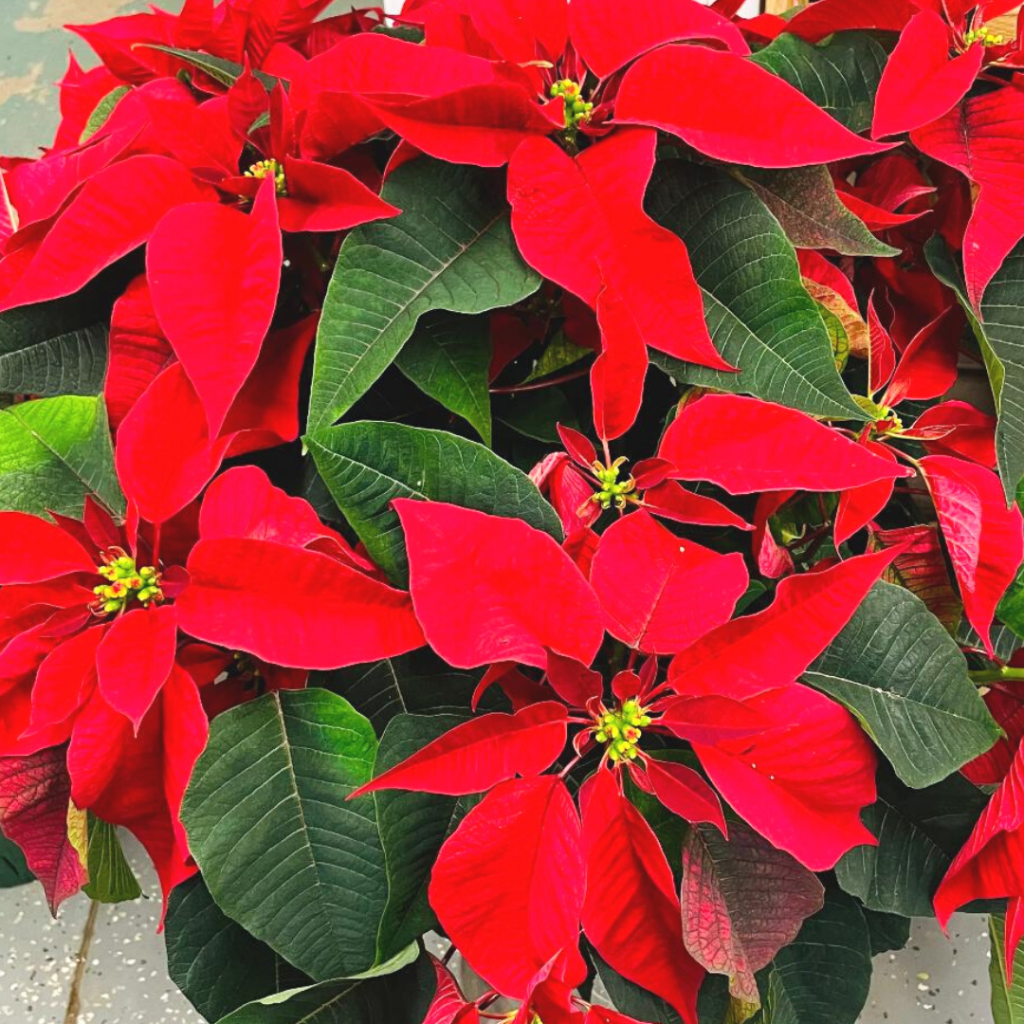
The Poinsettia is a member of the Euphorbia/Spurge genus and is native to Mexico and Central America. This plant comes in an array of colors ranging from red to white and even purple. The leafy colorful part of the Poinsettia is called the bracts.
One of the newer Poinsettia hybrids is the ‘Plum Pudding; this is the first purple Poinsettia hybrid! Each color of Poinsettia symbolizes something else. For instance, white stands for purity or forgiveness while pink stands for renewal.
Here are a few pointers to keep your new holiday cheer bright and lively. If your Poinsettia comes in foil, poke some holes in the bottom to encourage drainage. Poinsettias are susceptible to root rot, so overwatering is the quickest way to kill your new plant. Wilting leaves and a brown/black stem are signs of overwatering or root rot. Put your plant in bright filtered light, yellowing or dropping of the leaves can be a sign of not enough light.
Keep your Poinsettia warm! They prefer to be in 65-75 degrees to keep them in bloom for as long as possible. Be sure to avoid drafts or letting your Poinsettia touch a cold window because this can also injure them.
There isn’t a window display that doesn’t have Poinsettias during the holidays. Be sure to grab a few to brighten your home or give away as gifts this holiday season!
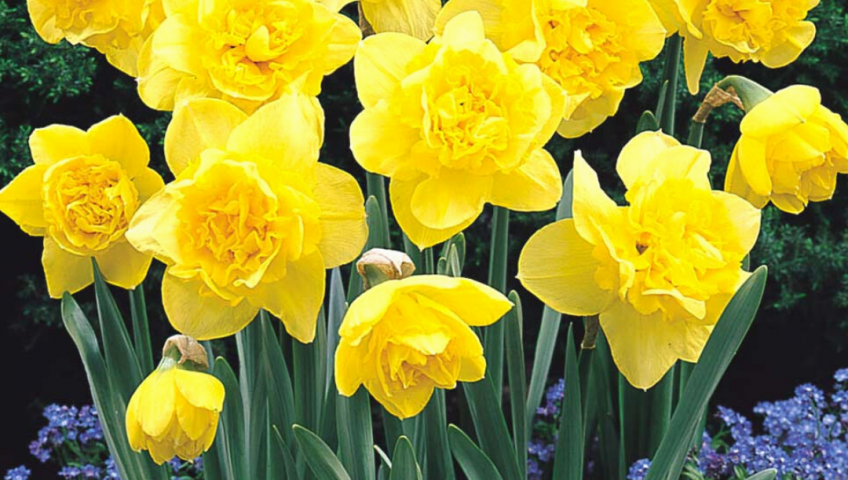
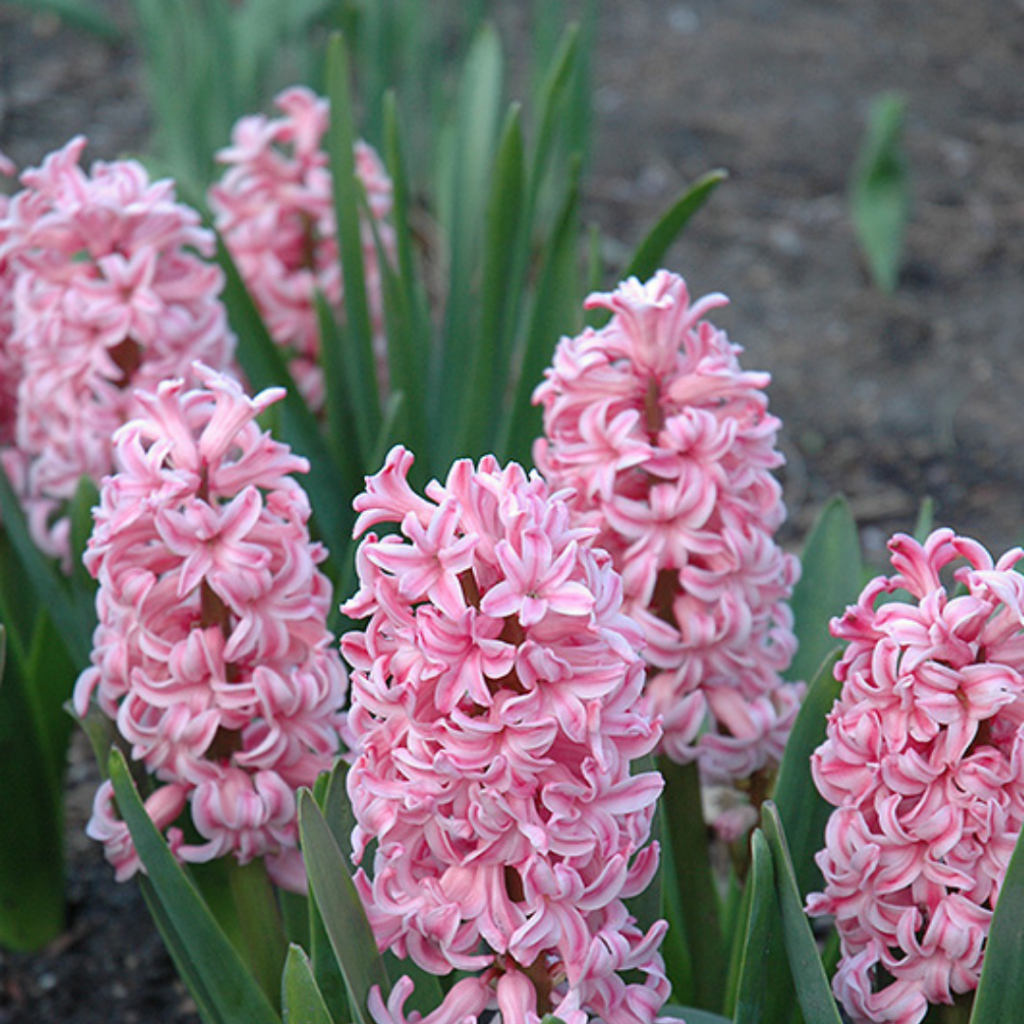
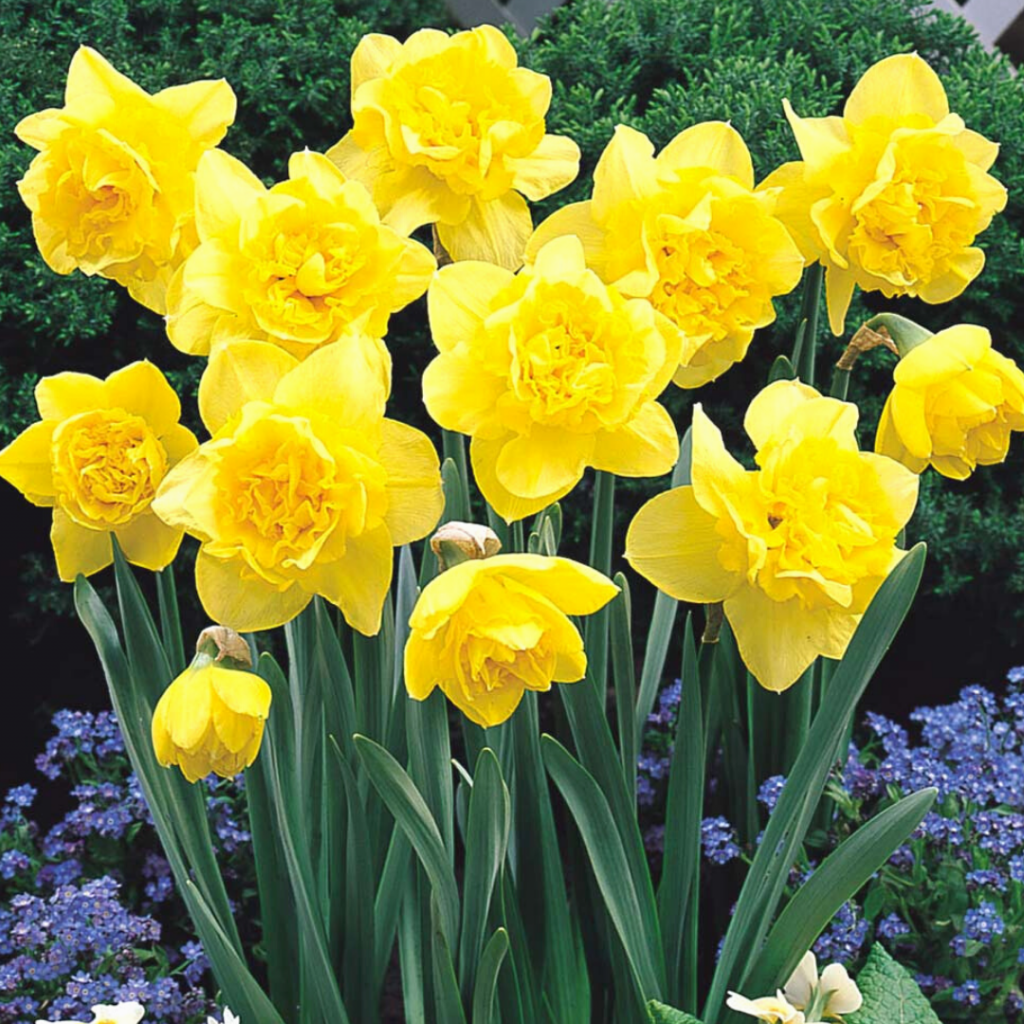
As all of us in upstate NY are getting ready to brace for Winter’s impact, let’s turn our focus to the coming Spring and its colorful potential! Bright yellow Daffodils, fiery red Tulips, and bubblegum pink Hyacinths are going to be your new way to snap out of those wintery blues. Let’s get planting!
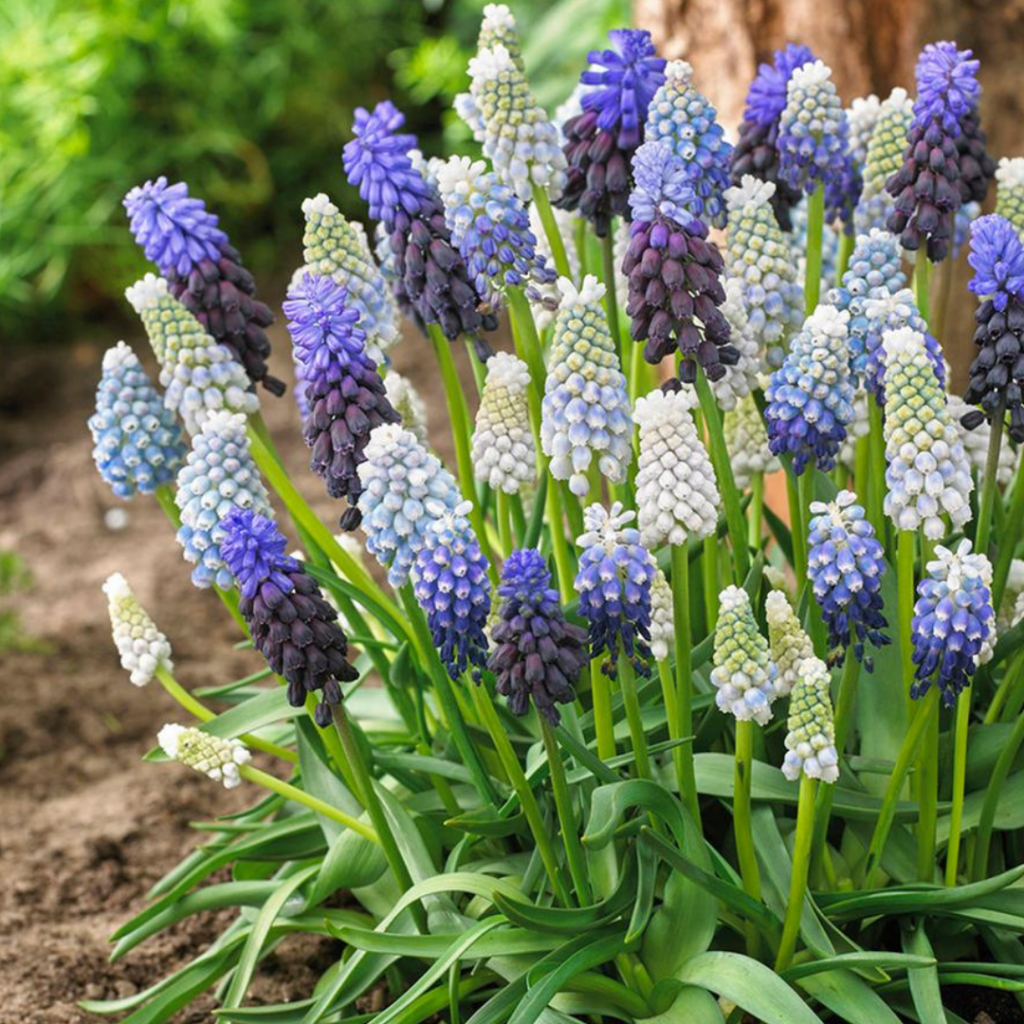
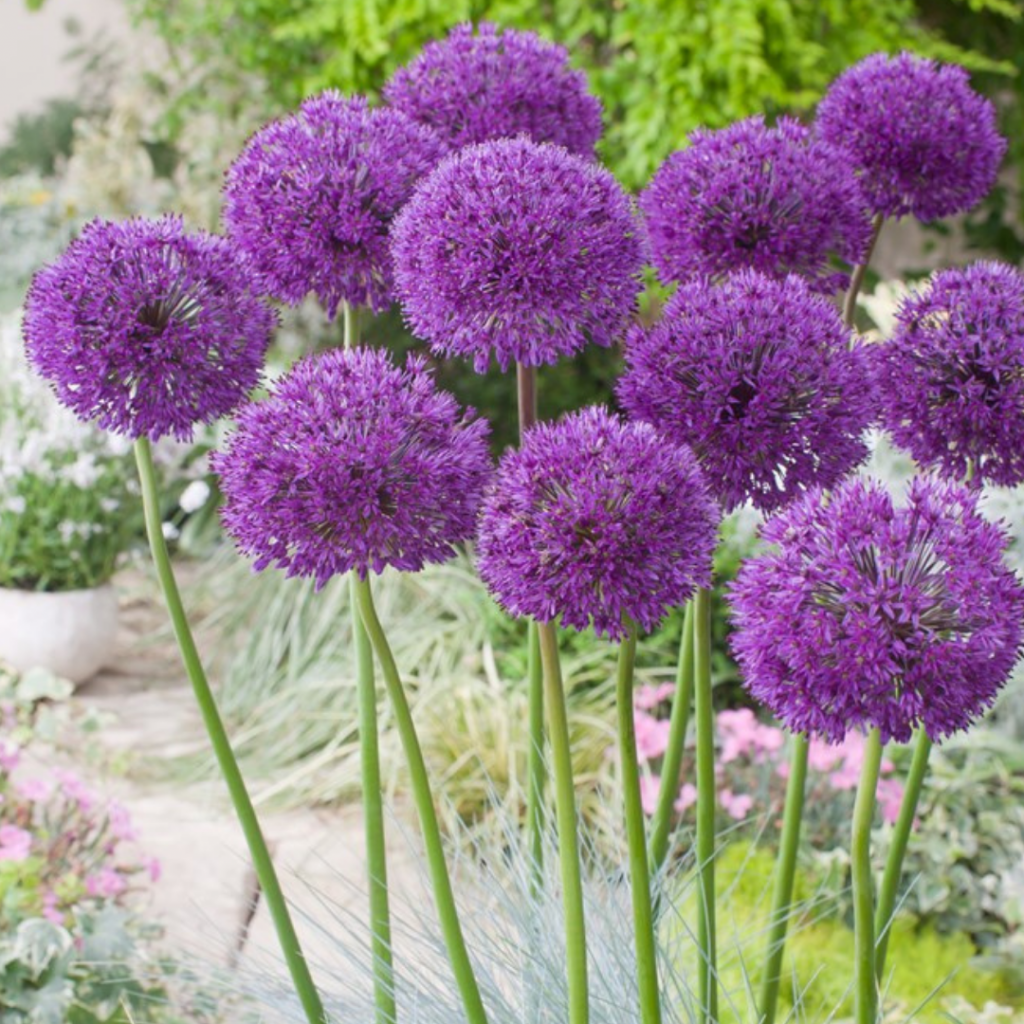
Spring-blooming bulbs are the first pops of color we see every year after the Winter finally starts to ease up. Ranging from yellow to blue to pink, you have a large selection of colors and shapes to pick from. At Preston’s, we can’t help but favor the Giant Allium with its funky blooms and the Tulip with its range in colors. If you’re looking for shorter with more blossoms though, look no further than the Hyacinth or Grape Hyacinth. With such a huge variety, Spring-blooming bulbs are a great way to scatter life throughout your landscape after a cruddy Rochester Winter.
Once you’ve picked which Spring blooms you’d like, it’s time to pick out your bulbs. When you’re picking a bulb make sure it’s not withered, squishy, or moldy. Now when it comes to the size of the bulb, generally the bigger the bulb the more blooms it will have. If you get a smaller bulb, don’t be sad! It will grow and be just as bountiful as a larger one in a couple of years.
Now that you’ve obtained your Spring-blooming bulbs, it’s time to think about planting them. Getting your bulbs into the ground is of the utmost importance because bulbs only have energy for 1 dormant season! They also don’t particularly care for being stored outside of soil either, it causes them to wither and die. While it is very important to get your bulbs into the ground, it’s even more crucial to do it at the right time of year.
For those of us in upstate NY, we cannot trust the weather but what else is new? The typical time for us to plant our Spring bulbs is between October and November. You must give the soil a chance to cool down or it will cause the bulb to break dormancy early. Once the temperature is consistently about 50 degrees or cooler for 2 or more weeks, it’s time to plant. It’s important to plant at least 6 weeks before a ground-hardening frost hits. Getting your bulbs in the cooler ground before the serious frost hits gives the roots time to develop and encourage the bulbs to turn on a flowering formation. It is safer to err on the side of caution and plant your bulbs later rather than too soon.
Planting bulbs is an easy task if you know the few important steps. One of the first steps to bulb planting is identifying which end is the top and which is the bottom of the bulb. When you plant a bulb, you’re going to want to plant it heads up. The top is usually a bit pointy and the bottom has roots. If you are unsure of which end is which, you can just plant the bulb on its side.
Where do you want to see your landscape come to life? Plant some bulbs there! We wish it were that easy, but there are some requirements for bulb locations. Most bulbs prefer full sun to keep their soil dryer and warmer. There are some exceptions like Violets who tend to favor shadier areas. The general rule is to not plant things under trees BUT with spring blooms you don’t have to worry about the tree foliage blocking out the sun. Just don’t plant your bulbs in a permanently shady area though! Spring bulbs look the best when they’re planted in groups or drifting along the landscape. By not planting them in rows, it encourages a more natural look. Even doing different size groups is a fun way to display bulbs.
Bulbs need to be planted in a hole 3x as deep as their diameter. Even if you don’t plant them deep enough or at the right angle, bulbs can wiggle their way to the depth and position they want! You can also encourage growth by sprinkling some bulb fertilizer in the hole while you’re planting them.
Watering your bulbs is important too. Once you plant them, you’ll want to water them a bit to get the root growing. If we have a drier Spring, it will become your job to make sure your bulbs are getting enough H2O. When you water your bulbs, make sure the water is soaking down to the level where your bulbs are buried. Bulbs need to have some water, but not too much because that can cause them to rot, this makes well-draining soil their best friend!
Once your bulbs are in the ground, mulch over them. When you mulch over the bulbs, use things like pine boughs, leaves, and mulch to help build a barrier against the freeze and thaw pattern of early Spring. Mulching is important because it helps prevent premature dormancy breaks.
After all your blooms have passed, it’s time to deadhead the bulbs. ONLY cut off the passed blossoms, not the foliage, your bulbs are still getting nutrients and energy from the sun for the upcoming cold season. Sometimes the foliage on your Spring bulbs starts to look sad and wimpy, planting perennials around the area of your bulbs is a great way to help hide the foliage! After you cut back the foliage, be sure to fertilize with compost to help get the bulbs ready for Winter.
If the cold beats you to planting, don’t abandon hope! Yes, it is very important to get your bulbs into the ground, but here are at least 2 ways to still get your Spring blooms. You can always pot your bulbs. Be sure to use a large container with plenty of potting soil and plant the bulbs at a proper depth/angle. Be sure not to press the bulbs to the edge of the pot because they will freeze but you do want to leave room between the bulbs for soil. Store this pot in an unheated garage, porch, or even your basement windowsill. As long as the bulbs are in a chilled spot, they will be ok for spring.
Another way to conquer the frozen ground is by planting the bulbs right on top of it! Spread the bulbs out on the ground and then cover them with 6-8” of potting soil. Mulch over the mound once it freezes over with things like pine boughs, compost, and leaves. Protect the bulbs!! This method of planting may not yield the highest number of blooms the first year, but it should improve with each season.
Bulbs do have pesky predators that you can protect them against. Squirrels are your main culprits but there are ways to help deter them. Using red pepper flakes by sprinkling them into the hole after you’ve put the bulb in is one way to keep pests away. Another is covering the area or mound with hardware fabric or a chicken wire cage.
You’ve chosen, planted, and protected your bulbs. Now don’t forget where you planted them over the winter and enjoy your new colorful Spring display!
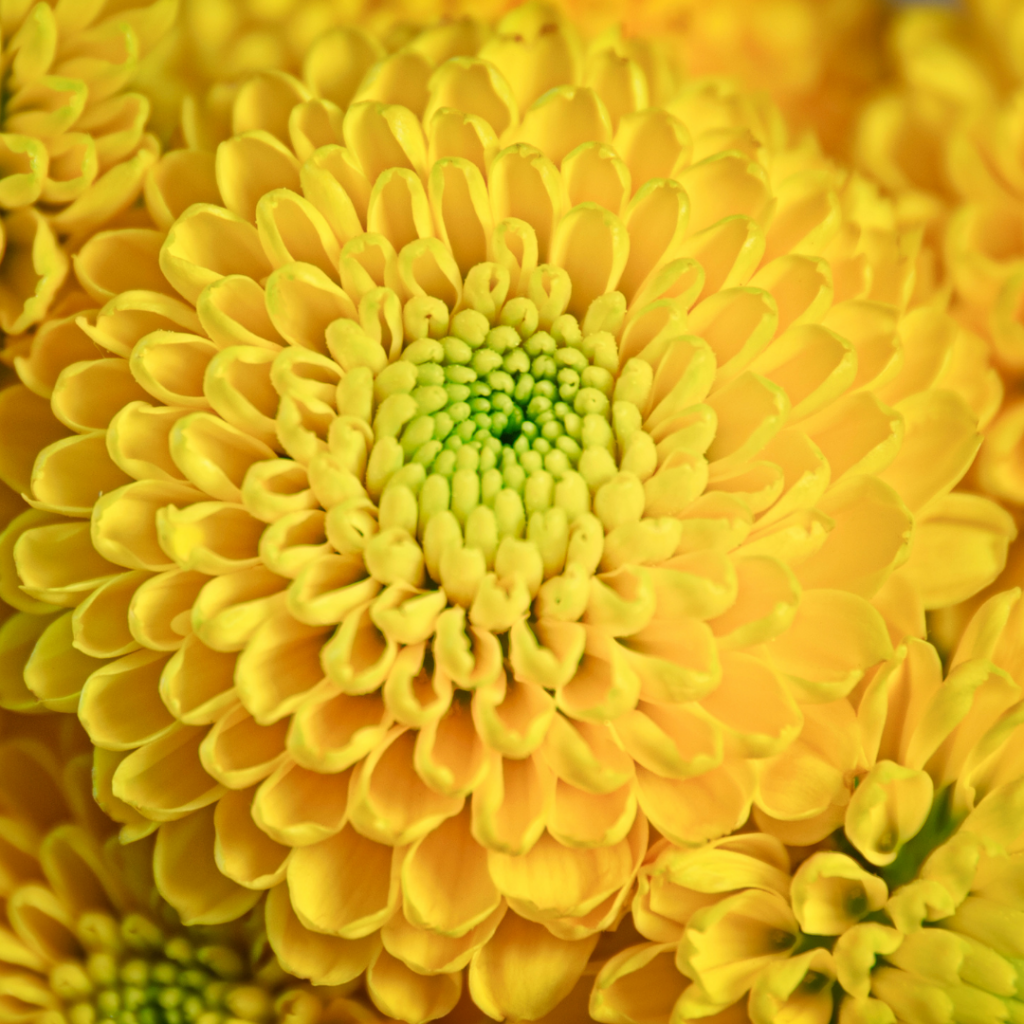
While some of us here at Preston’s are not ready to give up our pool days and flip-flops, we are ready to talk Chrysanthemums and the fall foliage kings! With days cooling down and nights coming sooner, your landscape is starting its seasonal change.
Here in upstate New York, we pride ourselves on our vibrant fall foliage and leaf-peeping locations, let us make your landscape one of them! Mums are such a fun explosion of color for your seasonally changing landscape, especially when they’re planted in mass plantings.
After your Daisies, Coreopsis, and most other blooms have passed, it becomes Mum season. They come in a very large variety- from colors to blossom shape to annual vs. perennial. With the dozens of kinds of Chrysanthemums to choose from, the potting arrangements are endless!
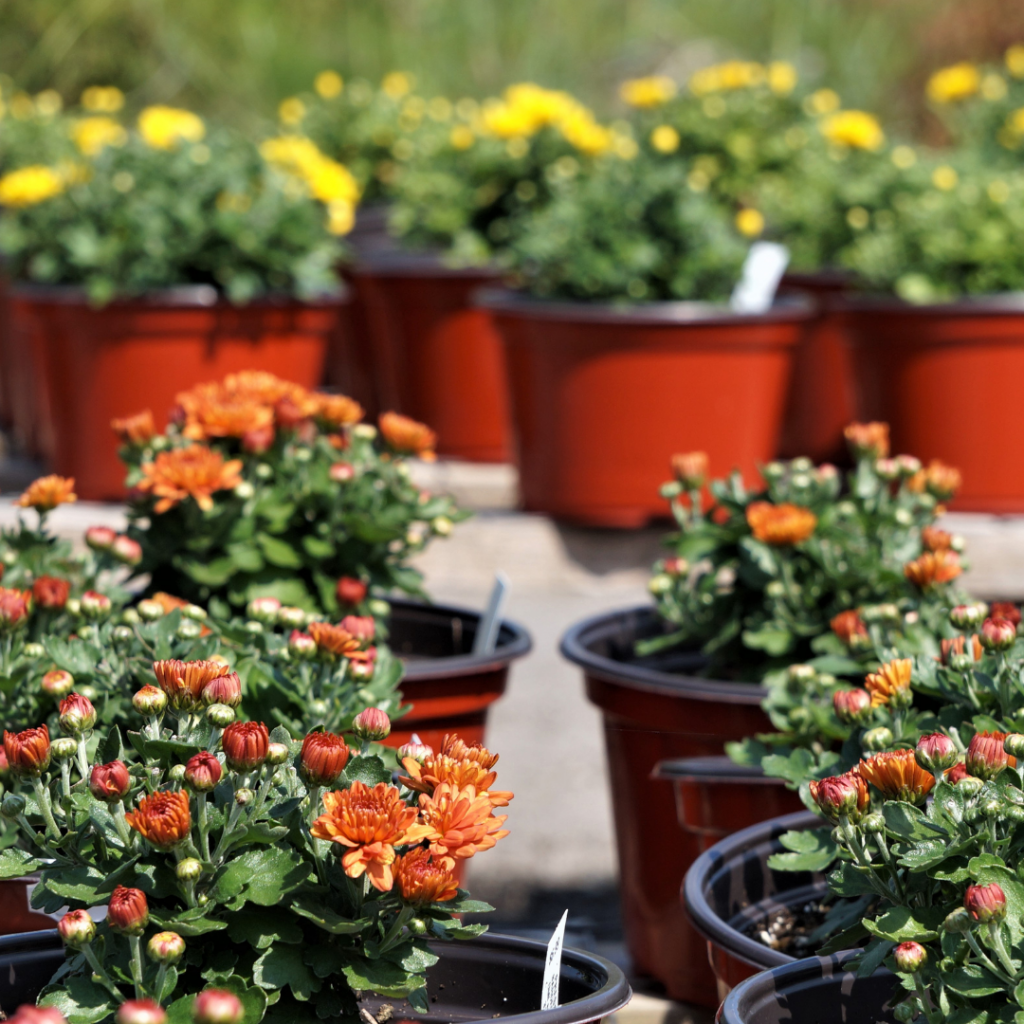
Mums are also great for window boxes and other arrangement options for you to enjoy the weeks of blooms to come. Pair your Mums with Flowering Kale, ornamental peppers, and some Purple Fountain Grass for a fun seasonal planter. Don’t forget, Mums are the perfect backdrop for your pumpkins and gourds this Fall!
There are 2 kinds of Mums that break into subcategories, they are the Florist Mum and the Hardy Mum.
Florist Mums don’t do well outside in our area- or any area that gets chilly weather. Meant to be enjoyed in our bouquets, these Mums do not have runners to protect themselves from the cold as the Hardy Mum does.
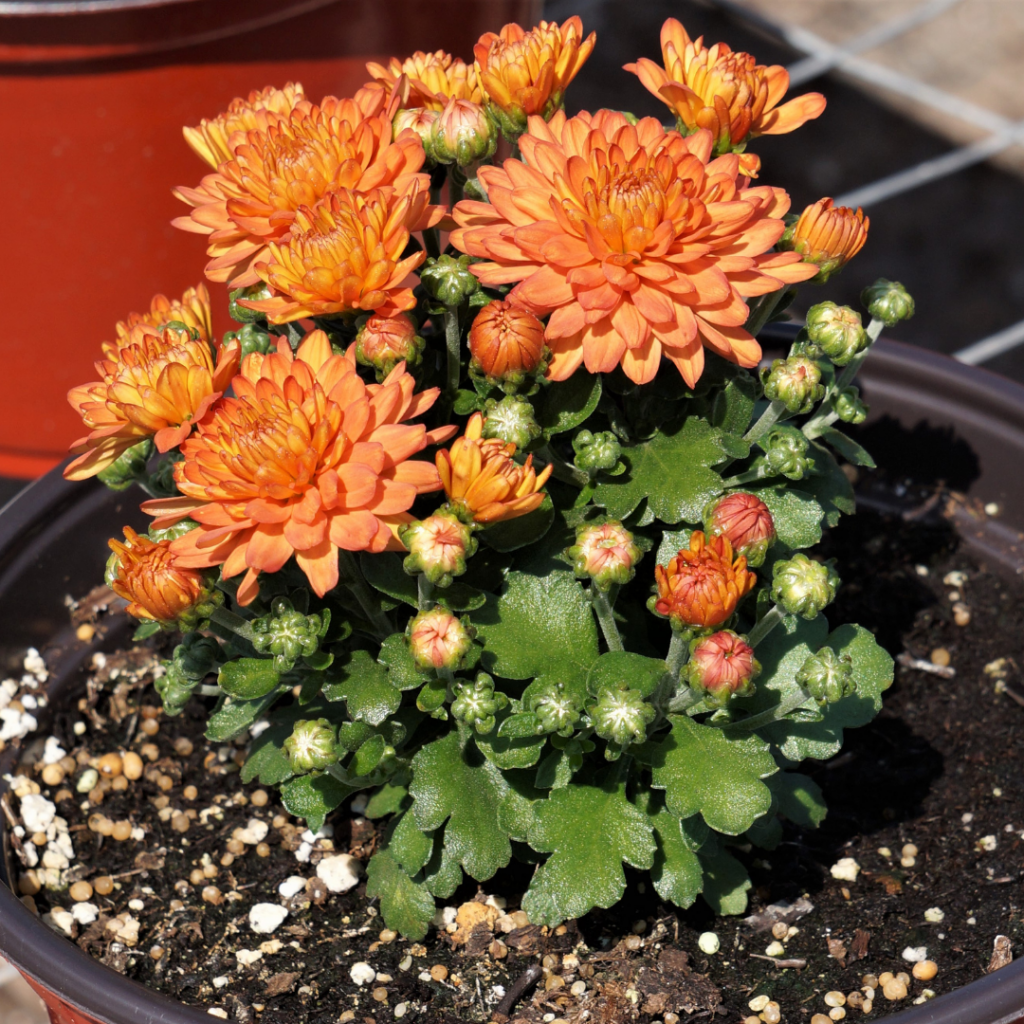
The Hardy Mum or Garden Mum is a perennial in zones 5-9 and most can tolerate a light frost at the beginning of the season. One of the most important things you can do for your new Mum is to repot it and give it a good soak afterward.
Mums tend to have very tight root balls from growing in their nursery pots in the warm greenhouses, they’ll want to stretch out a bit. Fall is a great time for planting perennials, but you do run the risk of your plant’s roots not developing enough in the new soil fast enough.
To give your Mum the best chance of surviving winter make sure you water it every other day and put it in a spot to get 6+ hours of sunshine. Mums love full sun but not the heat, which is why fall is the Chrysanthemum’s favorite season! If you’re watering your mum enough, it will prevent wilting which affects the vibrancy of your blooms.
Don’t forget to dead-head your Mums to encourage the new buds!
Time to talk about the kings of foliage that we have here in New York State!
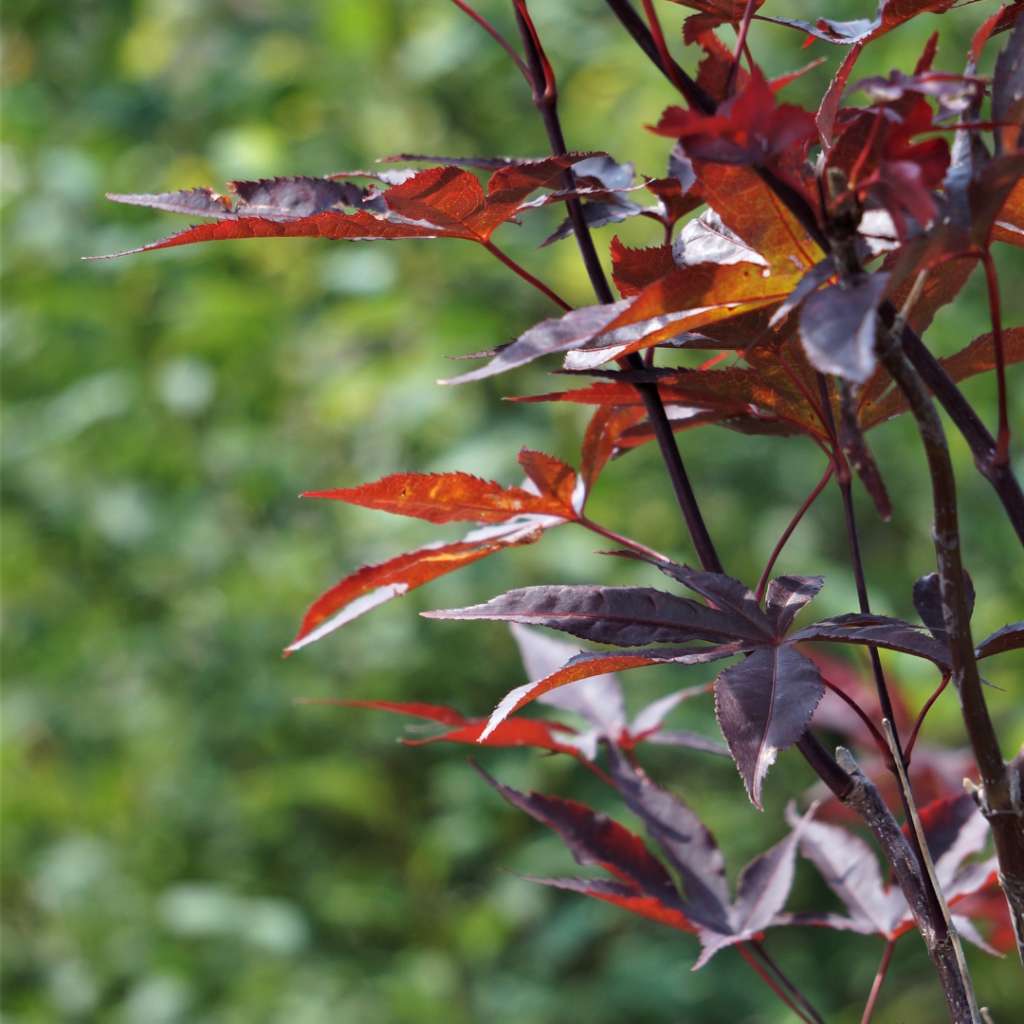
Some of our favorites here at Preston’s start with the classic Northern Red Oak. This tree boasts dark red foliage that physically hangs on longer than the other trees in the area.
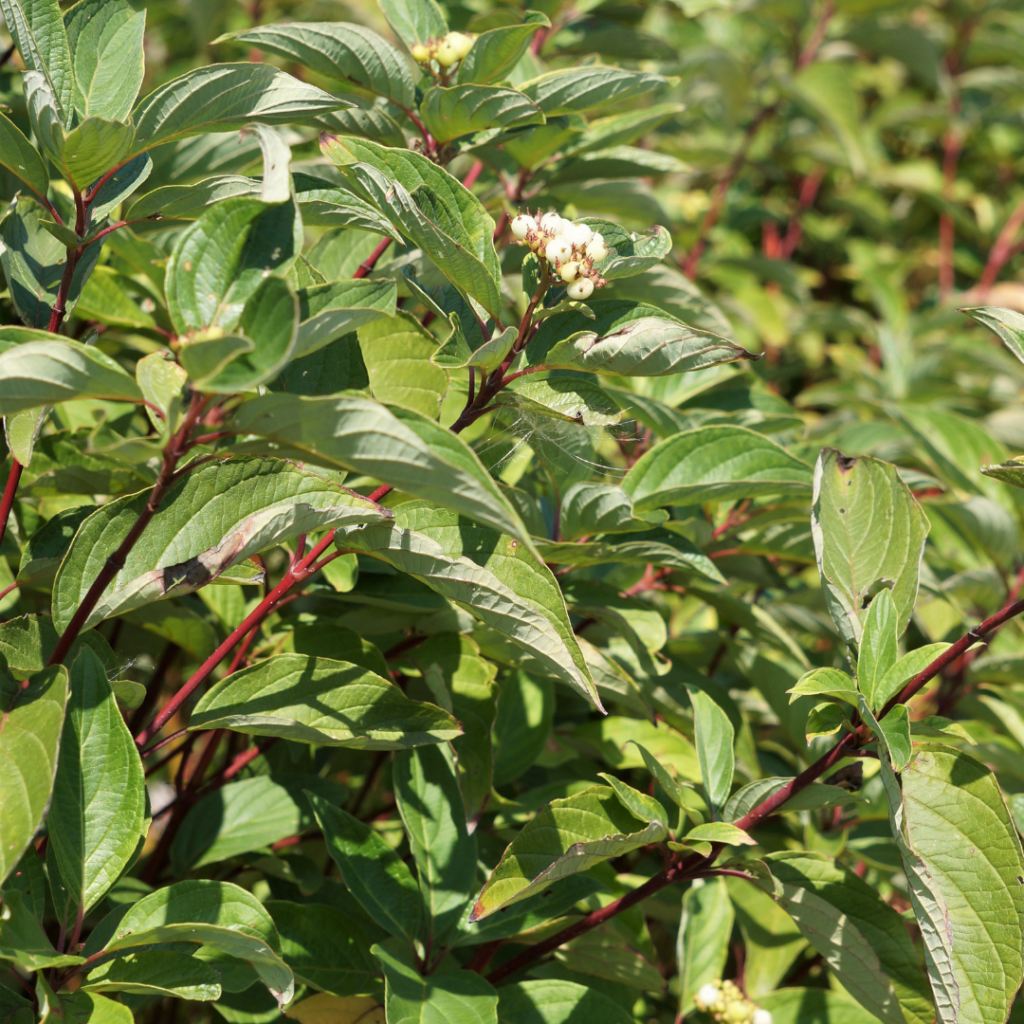
Next, we have our beloved Dogwoods, focusing especially on the Kousa and Bailey Red Twig. Dogwoods have always been known for their spring interest with all their beautiful blooms, but they also make for great fall interest too!
The foliage goes from orange to reddish-purple and the branches even don berries in the colder seasons for the birds. Some Dogwoods do have vibrant branches, the Bailey Red Twigged Dogwood or Yellow Twigged would make a beautiful contrast to the bleaker winter/fall landscapes.
If you’re looking for a pop of gold in your landscape- look no further than the Birch Tree. Most of these trees come with an added bonus- a fun textured bark that looks great in landscaping and your home!
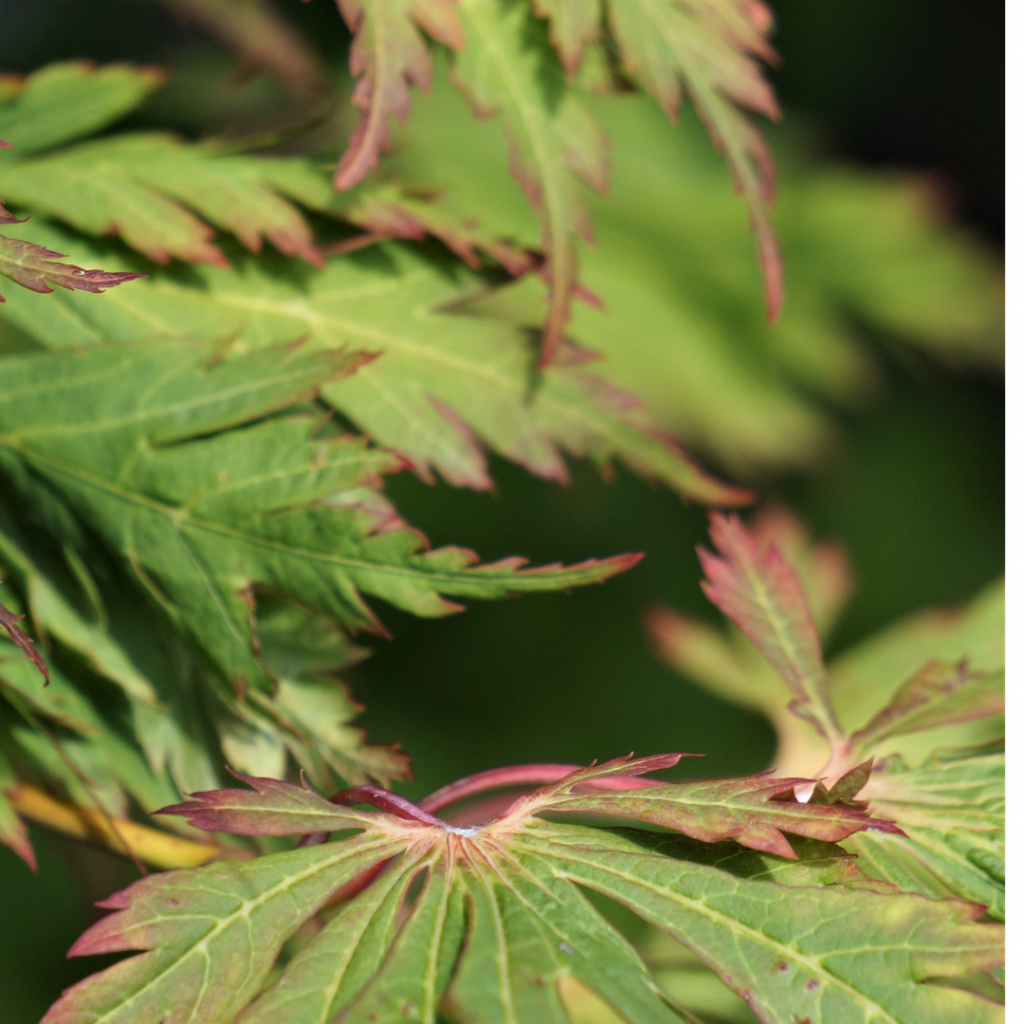
Our favorite fall foliage king is the Japanese Maple or Acer Palm. With so many foliage texture variations and color variations, how could this not be a fan favorite? Their lacey foliage ranges from light green to gold to even burgundy/purple. Some Japanese Maples, such as the Tamukeyama, do great in pots on your patio too.
A fresh tree planting with a sprinkling of Mums is a wonderful way to embrace the changing seasons and brighten up your landscape.
Come check out our Chrysanthemum selection and fall foliage tree selection at Preston’s Home & Garden Center in Ontario NY.
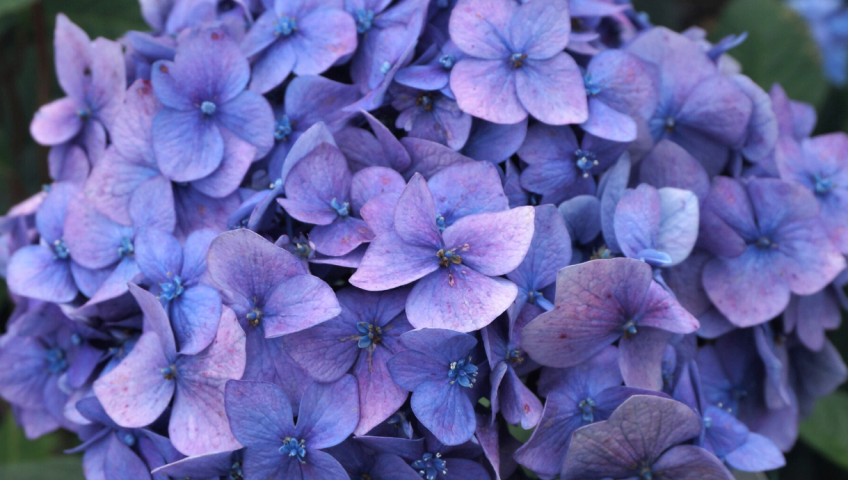
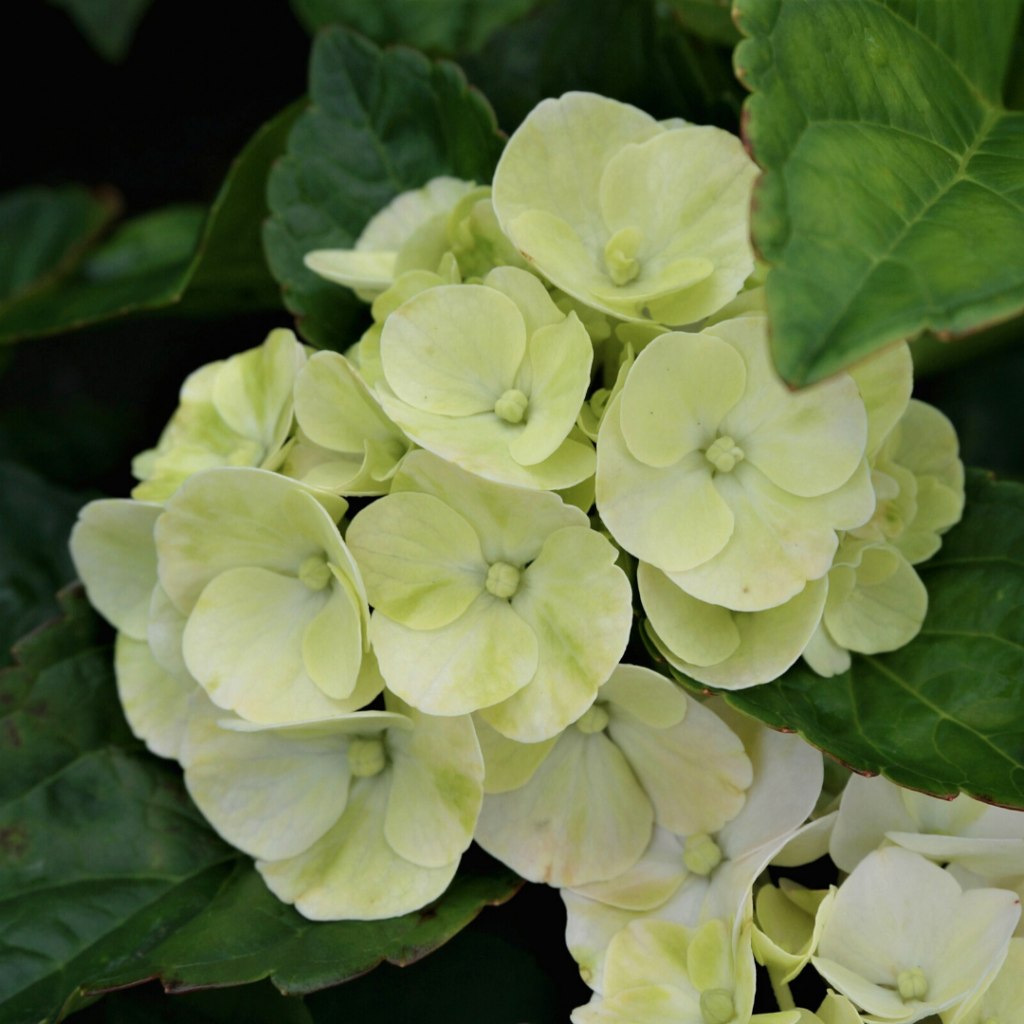
The hydrangea shrub and hydrangea trees are crowd favorites, especially in N.Y. and neighboring North-Eastern states.With the spring rain and breaks in the summer heat, we have a great climate for all sorts of these deciduous shrubs.From small to large, bold to subtle, and a large variety to pick from, the hydrangea will be a great addition to your landscape!
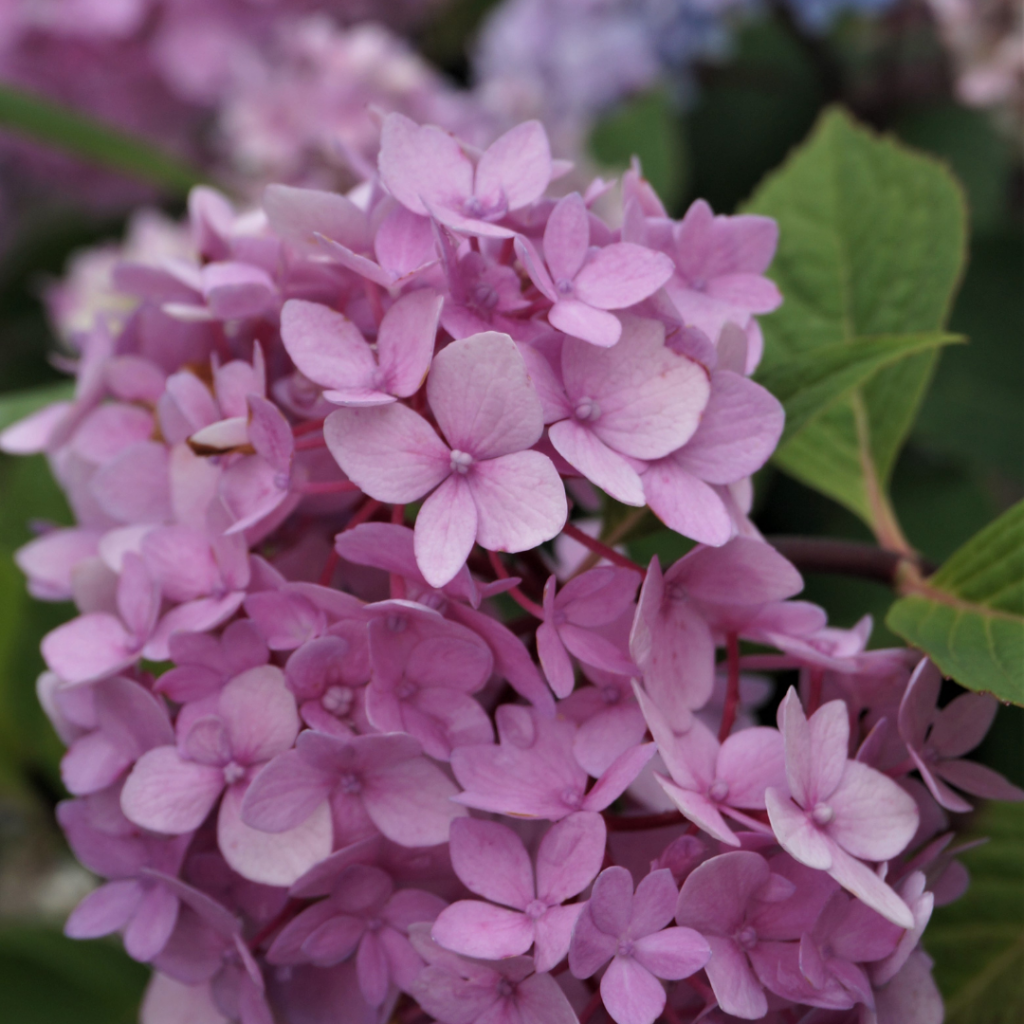
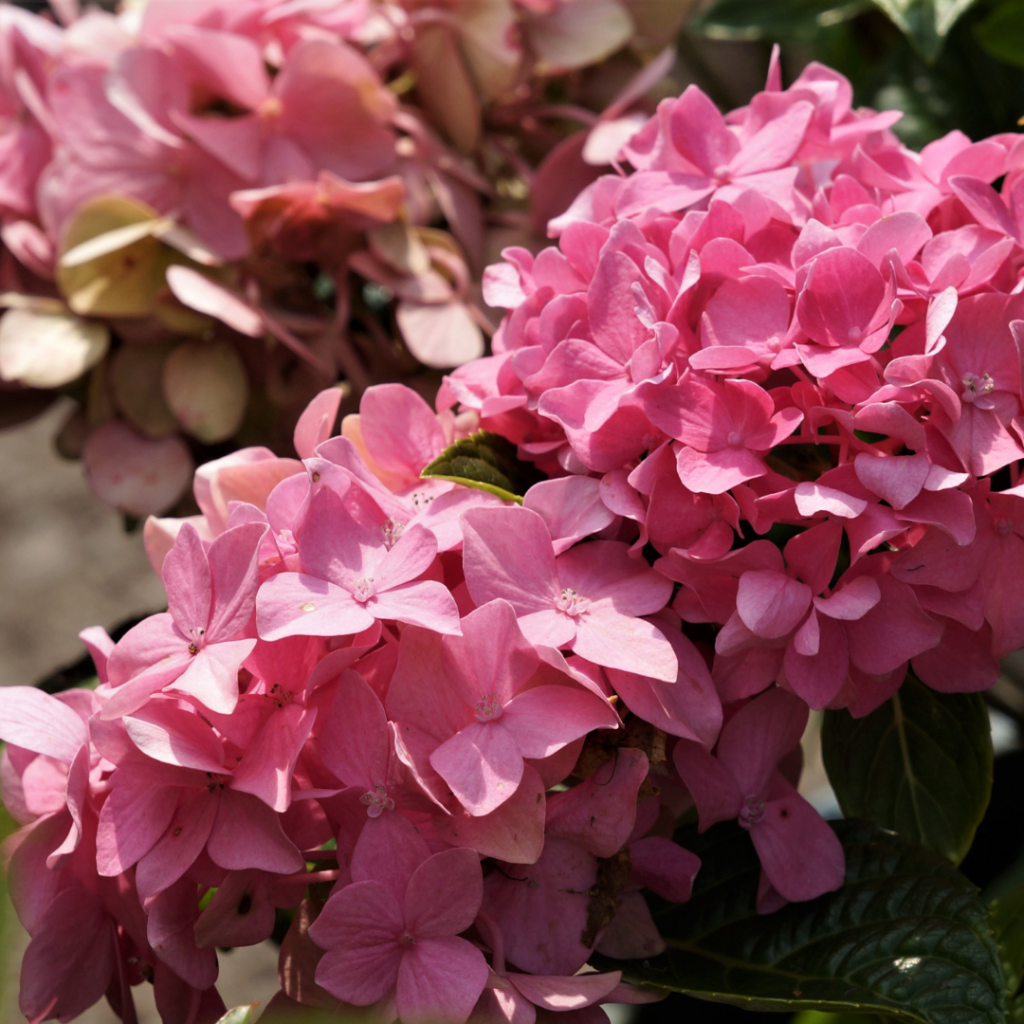
Hydrangeas come in an array of colors, foliage, and sizes.They can range from creams to blues to even pinks and multicolored.Some of our favorites are in the NEW ‘Seaside Serenade’ collection – they boast beautiful, bright blossoms on dense foliage and have longer-lasting blooms!While color ranges on hydrangeas, so does the shape of the blossoms.
Hydrangea blooms can go from a full cone-like shape to a more spaced-out blossom like the ‘Tiny Tuff Stuff’ hydrangea has.Even the foliage varies on hydrangeas, going from small ovals to large oak-shaped leaves.These shrubs come in multiple sizes as well – from dwarves at only 1.5’, like the ‘Pink Elf’, to tall trees.
Hydrangea trees are a fun way to add some height and extra color later in the summer.With fun names like ‘Pinky-Winky’ & ‘Pee Gee’, these trees will become a focal point in your garden.Their blossoms are dense and cone-shaped. Most are usually white, but there are hydrangea trees that have a pink hue at the ends.
These shrubs are not difficult to keep looking beautiful. They prefer well-draining soil and they don’t pay too much attention to the level of acidity.Hydrangeas do need to be pruned.Depending on when the buds set on your hydrangea, that will determine the best time.Blossoms happen on the new growth of hydrangea trees – you’ll want to avoid pruning at the wrong time or you’ll interrupt your blossoms!For some extra bright blooms on your hydrangeas, try out a bloom booster!
Need a *POP* of color in your garden? Are you worried about a colorless garden later in the season?
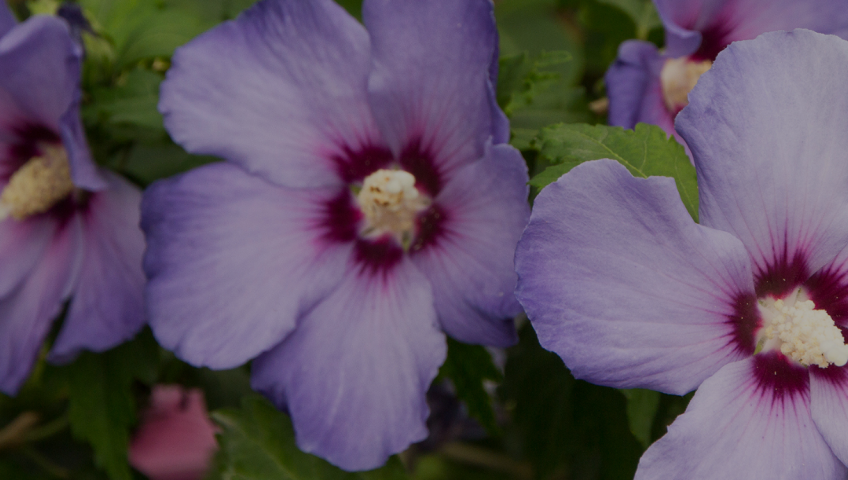
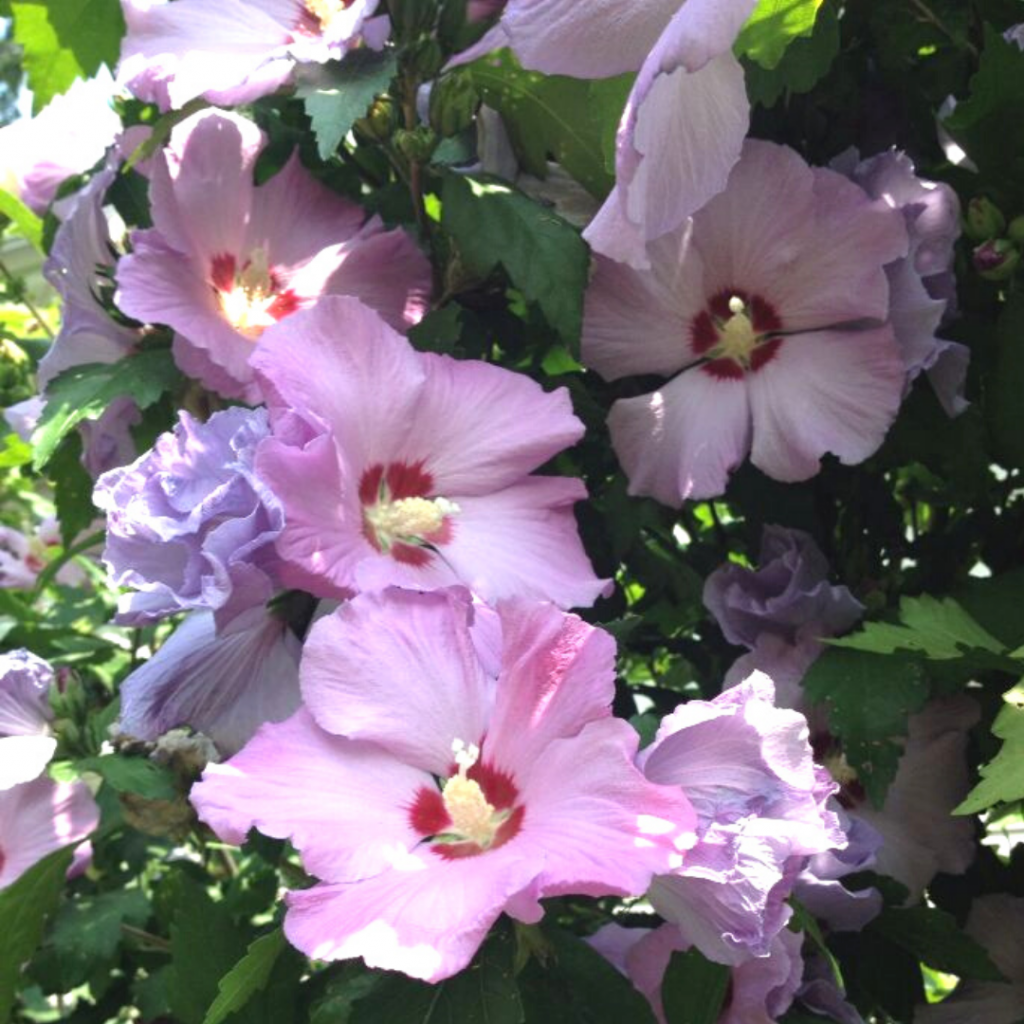
Look no further than the Hibiscus or Rose of Sharon!
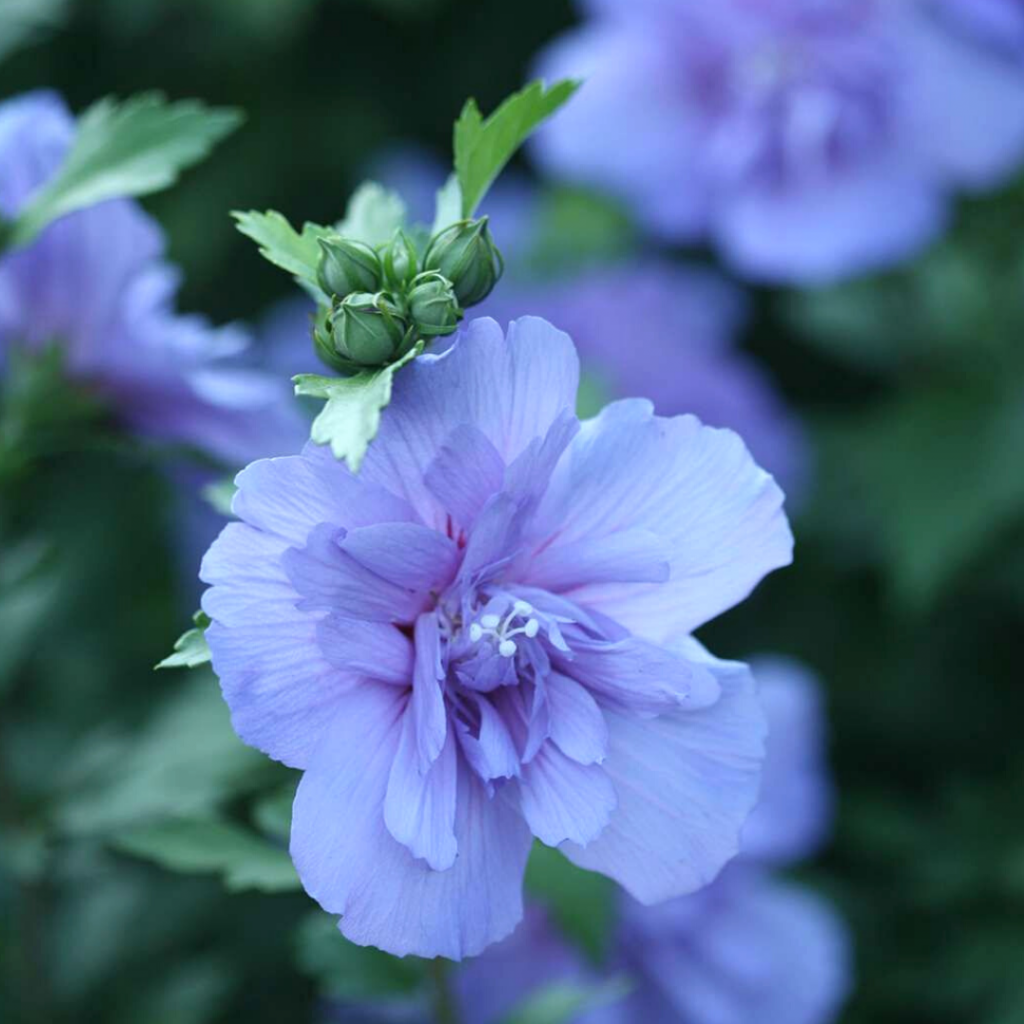
They are classified as deciduous shrubs but with some pruning, in the winter or early spring, you can easily get a tree shape or even a blossoming hedge. These beauties bloom later in the season after the spring and most summer blossoms are done with their display.
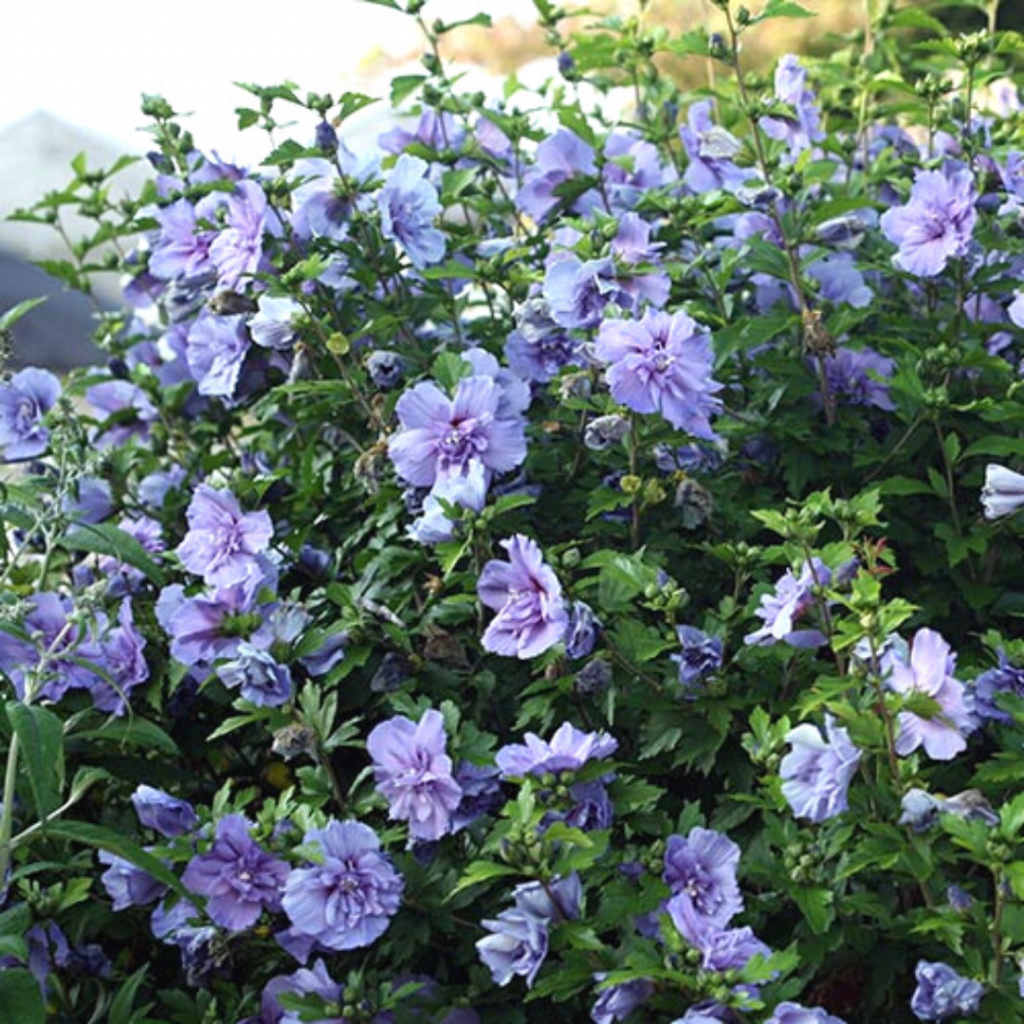
While you will love the array of colors, the smaller locals will appreciate them too. Rose of Sharon and Hibiscus is a fan favorite among butterflies and hummingbirds with their perfume and flashy colors.
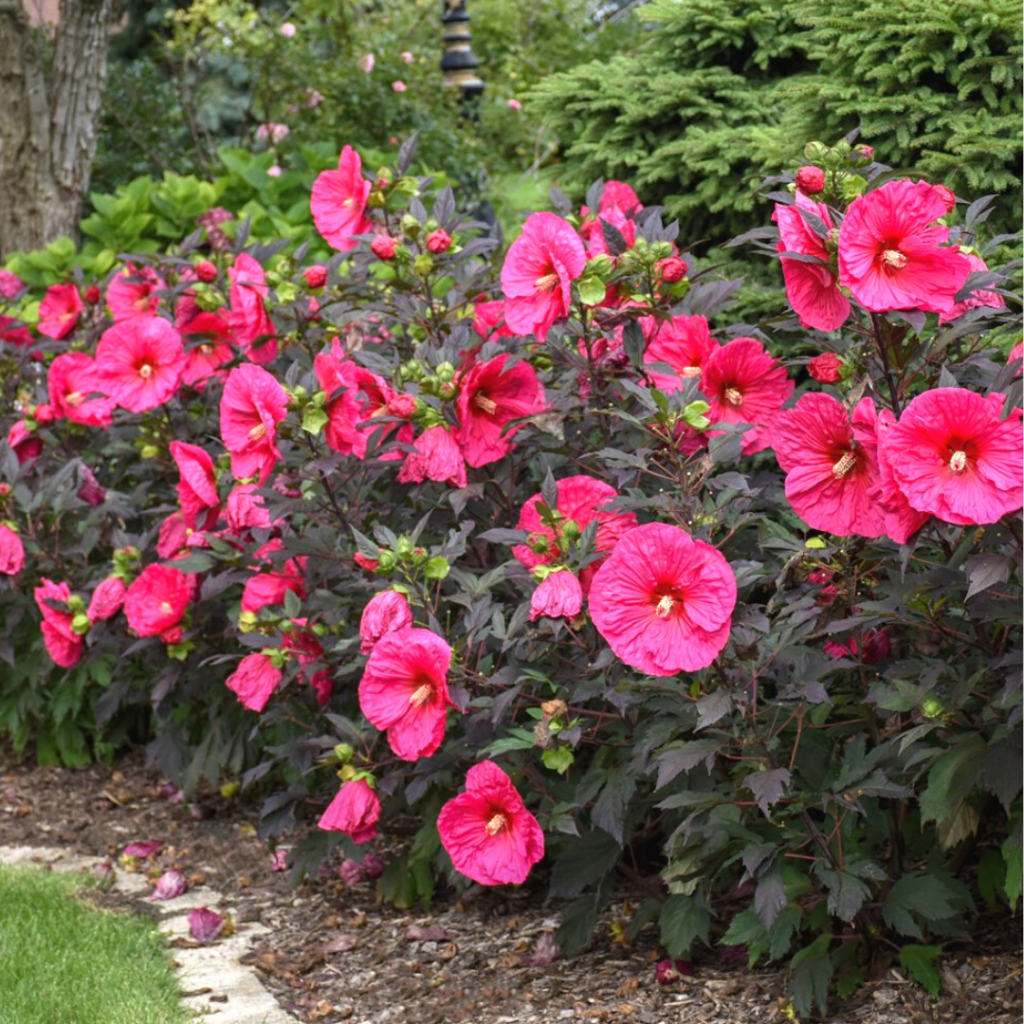
Their blooms range all across the color wheel- blues, pinks, whites, reds, yellows, purples, and even blossoms with a mix of colors. The foliage on these shrubs can be variegated to add a little extra color- like the ‘Sugar Tip’ Rose of Sharon.
These are very tolerant shrubs- they aren’t bothered by the heat, humidity, or most pests. They actually LOVE the heat and full sun. They aren’t too picky when it comes to soil either- just make sure it drains well.
Be patient with your Hibiscus & Rose of Sharon– they are late bloomers and late to get their leaves.